Monday, 4 November 2013

clarity stencil and homework


Well last month Barbara set a challenge: to see what we could come up with using the stencil that came with lesson 22. Here are some things i came up with.

In the first card i used hills as sand dunes and used distress inks and brushes to colour them in. I used other side of stencil on sky.
I stamped the 3 wise men from lesson 5 and the star and finished it off with the sentiment.


Here i used the same stencil and made trees out of hills. The hardest bit is the masking to make sure that lines are kept clean. Again done with distress inks and brushes. The other side i used to create snowy ground. Dear are from another lesson i think 14.
I added some glitter to finish it off.


This was another topper I made with stencil. Similar to first card. When Massimo saw this he wanted to make one. His is the left one and i think it's better than mine!


This was the first thing i made but i forgot to send it in. I embossed one of the 'hills' using my GC. Then i turned it over to do other side thus creating a bauble. Then i covered all embossed areas with versamark ink using pen and embossed them with red tinsel glitter powder. At the join i added double sided tape and sprinkled gold glitter. I punched a hole at the top and added some twine and a bow.
I finished bauble off with a red poinsettia from Sweet lilac flowers.

I hope you enjoy my post as much as i enjoyed all these makes. Take care, Theresa xx

Saturday, 26 October 2013

gelli print party bags


Well today's offering is all about gelli. I needed some party bags for my older boy's birthday and I was running out of time to go shopping for some. I remembered I had bought some plain brown/ kraft coloured bags and then I had an idea.

Being half-term I thought that I would enlist some help. So I got my little prince of gelli Massimo's help. So I did the first one to kind of explain what we needed to do. I thought I'd use back side of bag to 'mop up' paint instead of copy paper thus printing on both sides and not wasting any paint.


I used brown, yellow ochre and lemon yellow for first print and then greens and phtalo blue for 2nd print. Then it was Massimo's turn. He wanted vermillion, orange, yellow and lemon yellow for first print. then he chose brown, emerald green and a mossy green for second print. I wasn't very sure of what this was going to look like but once the second print was on it worked. So much so that I ended up trying to replicate his print later.

massimo's print


My attempt at copying 


Well I can tell you that the children enjoyed their day first watching Cloudy with a chance of Meatballs 2 followed by a meal at Nando's.

Hope you had a great day, Theresa xx


Sunday, 20 October 2013

dove stencil


So I received this stencil and was really excited to use it. I had seen some cards by Bernie Simmons and was rearing to have a go. So got the stencil out and put on theuva card and using stencil brushes and distress inks I created background. I was quite pleased with it and so I lifted stencil off.......Nooooooooo. i had ripped theva card as there was a little piece of double sided tape on stencil that I hadn't seen.

So I had to work out how to salvage this background. So in meantime i stamped Noel from Clarity stamp and embossed it with ranger tarnished gold. Did the same with the star (Clarity). Then i had a thought....what if I put some ribbon across to hide tear? But no ribbon matched. So then i remembered i had ds tape that I could emboss with. So I put a strip across and embossed again with tarnished gold. It still didn't look right so i put some thin black ribbon across.

I could see it was still missing something and the white poinsettia from Sweet lilac flowers was the finishing touch along with some ribbon in the colours of background. 

So matted on black and mounted on white base card - 8x8 and first card finished.


For the second card the background is the same but I used the Peace at Christmas stamp from classroom lesson 5. Stamped in black archival and clear embossed. Same with star. I mounted it on black but it somehow looked bare so i found this lace i had with blue edge that really matched the background and threaded some yellow ribbon through to complete. I put this on black matting layer before sticking topper on.

Hope you like these as much as i enjoyed making them and thanks to Bernie for inspiration, Theresa xx

Friday, 18 October 2013

Clarity weekend aftermath


After watching some of Barbara's shows this w/end I managed to get an hour to make a couple of cards. Unfortunately I couldn't watch all the shows as I was on call and at work but i have it all recorded to watch later when i have time. I was inspired by one of the demos and came up with some cards.

The first I did by stamping the crib on white card. Then I laid the card on the stencils: holly wreath from Ali Reeve and the Noel from Clarity stamp. Embossed it through GC. Using the Clarity brushes and distress inks: mustard seed, barn door, stormy sky and dusty concord i inked the whole background  This made the embossing pop. Finally i stamped the star in black archival and embossed in stardust. Matted on black which i sprayed with iridescent multicolour sparkle spray.


This is the second one I made. I embossed white card with the snowflake stencil and large Peace from Clarity stamp. Using stancil brushes i inked whole background with tumbled glass, stormy sky and dusty concord. I put the 'outie' over Peace and went over it with dusty concord. I added some snowflake stamps using tumbled glass and stormy sky both first and second generation ink. I sprayed the card with multicolour iridescent sparkle spray and finished it off with some pearls. Matted on black and attached to base card, 8x8.

I hope you were also inspired by the fantastic shows. Take care, Theresa xx

Wednesday, 16 October 2013

Fab 60's


Today I decided to visit the 60's. I've bought these beautiful stencils from Stencil Studio which I've been itching to play with.

I used the back of white centura pearl card, laid stencil down and secured it with masking tape. I used a stencil brush and black soot distress ink for the image. I covered it with double sided adhesive and micro beaded it. I attached 4 small pearls in the corners and matted it on black. 

Then I embossed a piece of white linen card with the dogtooth embossing folder from couture creations. I inked edges with black soot distress ink and matted it on black. I attached a strip of black satin ribbon to it and secured it at the back.

I made a triple bow with same ribbon and attached it to the ribbon on the side. I added another bow in black and white twine. I embellished the bow with some paper roses from Sweet lilac flowers and added some more pearls in the corners.
Finally I attached the topper and mounted the card on an 8x8 white base card.

I really hope that you like this as much as i enjoyed making it Theresa xx

Tuesday, 15 October 2013

Sweet lilac flowers - love and celebrate fussy and fancy challenge


Hello everyone. Yes it's that time again. This month the theme is Love/Wedding.

For this challenge i started with a gelli print that i had in my stash. The colours used on it are red, yellow and gold. The stencils are the swirly leaves and dotty wave and are both from Clarity stamp.

I tied a double bow using wavy edge organza in red and gold. Ribbon from creative expressions. I then arranged an assortment of flowers from Sweet lilac flowers along the bow, making sure that they reflected the tones on gelli print.

I stamped the sentiment in black archival and clear embossed it. I cut the white card like a banner and attached it underneath bow elevating it in middle to create movement and attaching it flat at pointy end. I attached the topper onto black 8x8

base card. No matting was necessary as the print had the white edge ready.

So i hope this helps with some inspiration. 

Make sure you join us over at the sweet lilac flower blog challenge.

And because the theme for the current fussy and fancy challenge is 'celebrate' I think that this card will make a perfect entry.

All for now, hugs Theresa xx


Monday, 14 October 2013

happy birthday son!


 Well tomorrow is my older boy's birthday. He has reached the grand old age of 11. This is the card i made for him. As he loves music and singing i thought it only befitting to follow the theme, quite a simple card really.

I embossed white card from both sides of am mbossability folder and inked with black soot distress ink to bring out embossing. For the main imge I went onto clipart free images and printed an image off. I was quick enough with embossing powder so managed to clear emboss it too! Coloured in with promarkers and die cut with spellbinders circles. Matted on scalloped circles which was coloured with promarker as didn't have matching card.

I stamped sentiment along side of 8x8 base card in my beloved letterbox from Clarity stamp kit using teal memento ink. The number is again stamped from number kit again by Clarity stamp in geranium archival ink and clear embossed. Cut with spellbinders and matted as topper.embossed mat was matted on matching red card and join hid by the strip of red.

I hope you like it. He loved it and said it was great.

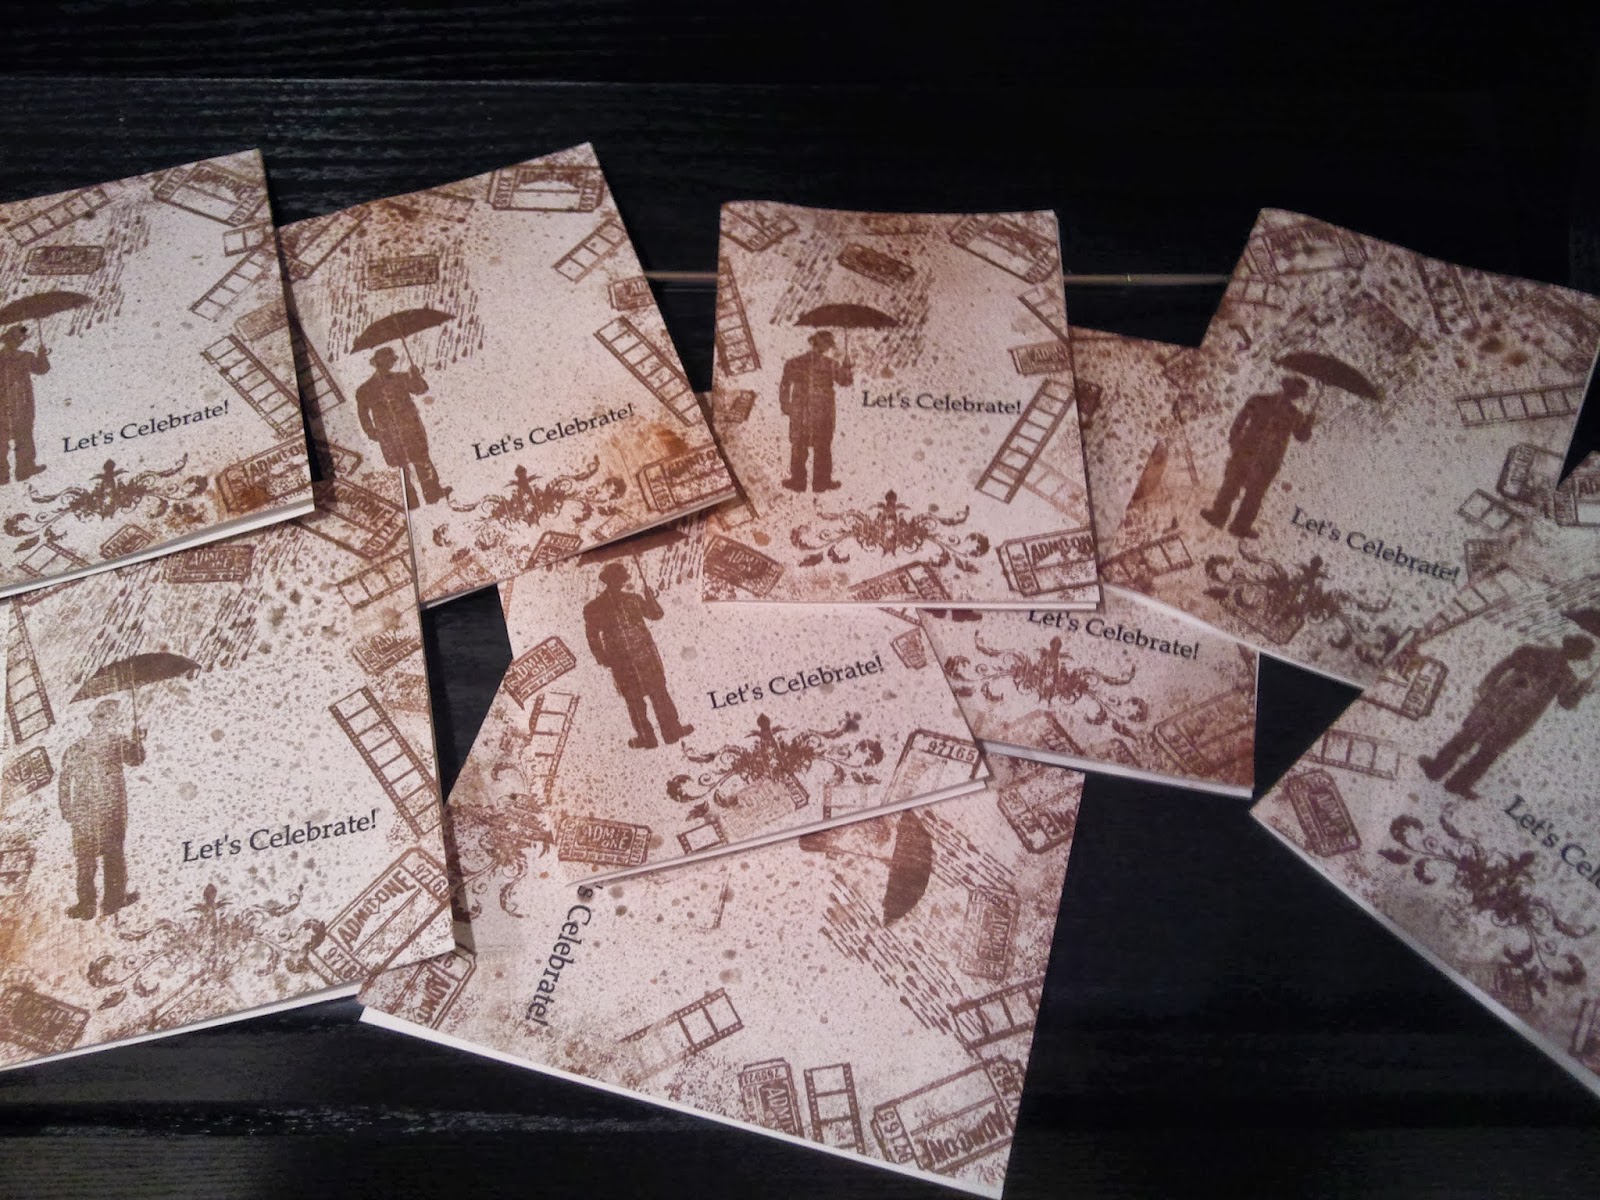
Below are the invites that I made for his party.


They are A6 in size and very quick to make. i spritzed base card with perfect pearls mists, I used biscotti, a brown, a bronze and a gold. I stamped in espresso archival ink after i dried them up with heat gun. Stamps are from Tim Holtz and some from Sam Poole.


I'm aware this is a longish post. Hope you don't get bored before you come to the end. Theresa xx