Saturday 24 January 2015

things with wings ....


 Hello again. Today's offerings are 2 cards i made last Easter with the small blue tits and cherry blossom stamps from Claritystamp.
I thought of them after reading Barbara's blog earlier in the week.


I started by stamping cherry blossom branches on the top. Then i stamped feeder and the tits and masked them off. i then masked off a strip and stamped another cherry blossom branch below. I stamped in potting soil archival ink. Before removing mask i added some shadow with distress inks and a make up sponge.
The colouring was all done with distress markers and a damp brush.
I also inked some very faint clouds in background.


The sentiment is part word chains and part from a set of sentiments all from Claritystamp.
I added a squiggly line to add more definition. I drew a chain on the feeder so it hangs from branch. I matted on brown card and added some ribbon and voila'.


The second card utilizes same stamps but is in landscape. The area for sentiment is done by using a part of a tag stencil by Claritystamp and then I added eyelets where it had holes. I inked around all edges and matted and layered on matching card.


I also made a birthday card with the same stamps but i couldn't find the pictures.

I do hope you like my offerings, Theresa xx

I would like to enter these card in the following challenges:

Clarity stamp challenge - things with wings
TTCRD - anything goes
Sister act card challenge - anything goes
Fussy and fancy challenge - things with wings

Wednesday 21 January 2015

take 2 on stamp ....

Hello there. Today I'm using the same stamp I used some days ago and you can read all about that here.


This time I started by making a customized inkpad using the distress reinkers.
Then I stamped one image on a small piece of white card and clear embossed it. 


On a larger piece of card I stamped the flower several times in one corner. On the opposite corner I used the smaller stamp.


Some matting and layering and ribbon in matching colours and the card was finished. I added 3 small gems to topper.


The stamps used here are from Hobby Art.

I do hope you like my make, Theresa xx

I would like to enter this card in the following challenges:

Hobby Art challenge - bright and cheery
TTCRD - anything goes
Sister act card challenge - anything goes

Saturday 17 January 2015

it's a guy thing .....


Hello there. I'm back again with a gent's card this time. 
I started by stamping the men's collage from Visible Image on a white piece of card using coffee archival ink. 


I inked with distress inks - old paper and antique linen. I used the pen spritzer and old paper and frayed burlap distress markers to spritz some ink across background. I cut round the topper by ripping it against a ruler and then inked with gathered twigs and walnut stain.


I then stamped the image again partially 3 more times. One just in coffee archival where I covered watch face with crackled glossy accents. The other I embossed in gold and cut out the watch rim. Lastly I stamped again in coffee archival and clear embossed to get the car glossy. To this I added glossy accents to head lights.


I fussy cut the pieces and assembled. I stuck it down to base card which I also inked slightly. 

I hope you like my make, Theresa.

I'd like to enter this card in the following challenges:

TTCRD - anything goes
Sister act card challenge - anything goes
Visible Image - show and tell


Monday 12 January 2015

Fae Hope and melt pot comes out to play .....

Hello my friends. I can now post this card as the recipient has had it. It was made for a girl's 7th birthday to which my little one was invited.


All the stamps used here re from Visible Image and can be found here. They are all from the Fantasy range.


I started by stamping Fae Hope and the castle in black archival ink and then masked them off. The background is created by the mystical map which I inked in gathered twigs and walnut stain for border and old paper on inside. It is achieved by masking and multiple stamping. I added some script with the Bronte' script stamp. The whole background is inked with old paper and antique linen distress ink and some scattered straw.


I removed masks and set about creating Fae's dress. The dress is from velvet paper and the cape is angelina fibres. Her accessories are angelina film. So a lot of fussy cutting involved. She is then coloured with spectrum noir pencils.
The castle is coloured in with spectrum noirs.
The topper is ripped against a ruler and inked with walnut stain. I stuck it down on an 8x8 blank card.
I stamped the sentiment in versamark and embossed in brown. I cut it banner shaped and tore other edge which i then inked with walnut stain. I shaped it and stuck t across as shown.


Finally I got the meltpot out for a play and used antique copper UTEE which i dropped on craft sheet and stamped with the shield stamp in it giving it shape and texture. It's ended up looking like a seal which i really like.

So I hope you like my make, Theresa xx

I would like to enter this card in the following challenges;

Sunday stamper - anything goes
Simon says stamp Monday challenge - inky background ( distress inks and distress stamping )
Sister Act challenge - anything goes
Allsorts challenge - new and cute ( Fae is both new and cute and background stamp is new too)


Friday 9 January 2015

bright and cheery....

Hello again. Today's offering features a technique that I think is great. It is quite simple but can give striking results.


This card is worked entirely with Hobby Art stamps which you can find here.
i started this card by cutting the white card to size first. I started with a piece measuring 7.5x11.8 cm and increased it by 5/8" all round twice.


I used luminart radiant rain pourable inks for this. I used a blue, magenta and yellow. I squeezed some drops on my craft mat and spritzed with water. I then swooshed card though it. In reality it is very bright and sparkly.


When I was happy with colours I dried them well and stuck the 3 cards lightly with some ds tape. I stamped the images in black archival ink across the 3 cards. Then I mounted each layer on black and stuck layers down properly.


I stamped and clear embossed the sentiment and cut it in a banner shape and mounted on black. I shaped it and attached it across.


I diecut a black and a white butterfly. The white one had ds adhesive and so I covered it in iced diamond for some extra sparkle. I finished them off by adding some pearls once I stuck them to card.


I hope you like my make, Theresa xx

I would like to enter this card in the following challenges:

Simon says stamp Monday challenge - make new friends and keep the old (new stamp, old inking technique)
Simon says stamp Wednesday challenge - something new  (new stamps)
Fan-tastic Tuesday - anything goes with a splash of orange (where colours mixed orange turned up)
Hobby Art challenge - bright and happy
TTCRD - anything goes


Tuesday 6 January 2015

my first journal page

Hello there. This is the second thing i've made so far in 2015. It is my first ever journal page. I've joined this group on facebook and realized that I'd never made a journal page so it was about time to make one.


Then I had another problem. I didn't own an art journal. So I decided to make my own. But no I didn't start with the cover, though I have some ideas in my head.


I started by stamping the coral and kelp in distress paints. I used evergreen bough and forest moss, scattered straw and barn door. Then I inked background by swooshing page through spritzed distress stains. I used evergreen bough, salty ocean and chipped sapphire. I built up layers till I was happy and made sure it was dry in between layers.


Next I stamped the school of fish in hydrangea archival ink and the patio stone in watering can archival ink. Then i wanted to add some bling but subtly. So I used some radiant rain that I applied with a texture sponge. Unfortunately it doesn't photograph well at all. 


I stamped the bubbles several times in first and second generation archival and bleached colour out with water and added some white to make them pop. 


I decided to add some ripped book pages to my background. I find this very difficult as I can't rip pages. So i just closed my eyes and did it. I inked them with evergreen bough and walnut stain and stuck them on.
I added some drips of distress paint in picket fence and evergreen bough.


I then stamped the fish on angelina film and fibres for some more shimmer and stuck them on after fussy cutting.


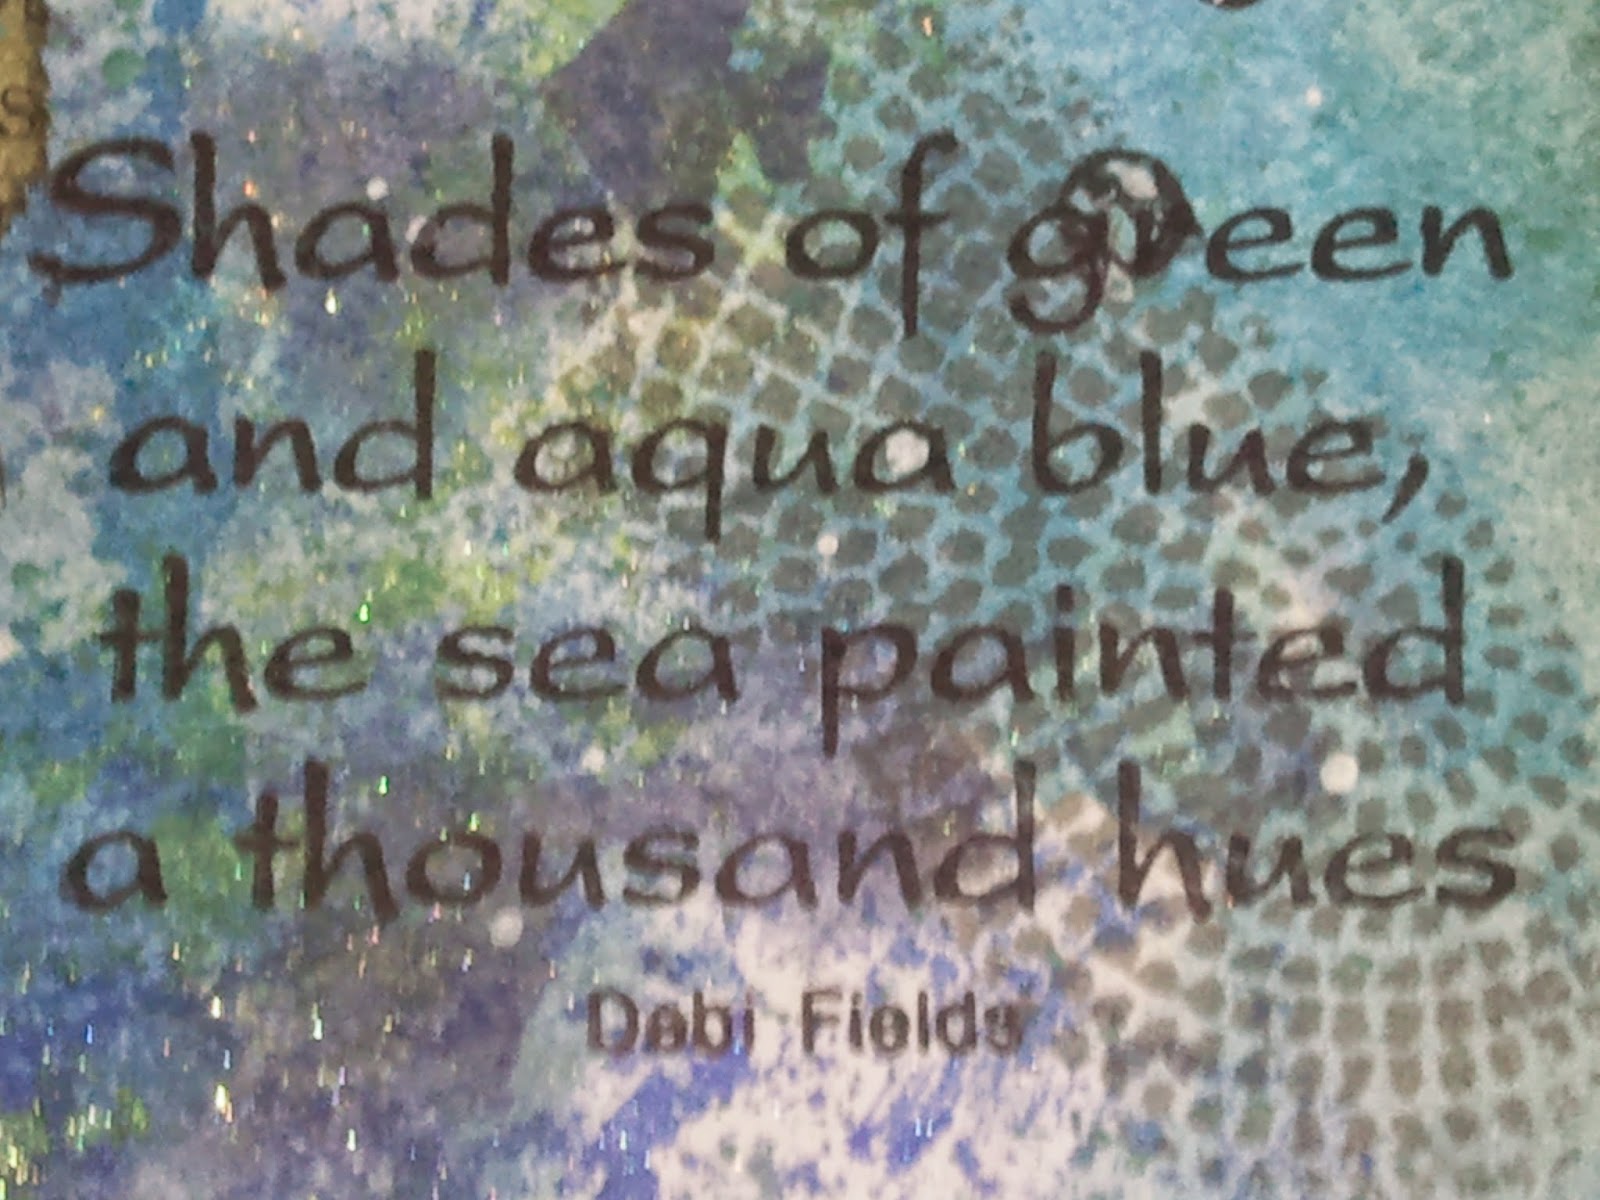
Then I decided to stamp a couple of quotes that 'spoke' to me. I am really missing the sea maybe because I was born on an island and was surrounded by it.


All the stamps bar the quotes are Designs by Ryn that you can find here and the quotes are from Hobby Art that you can find here.

I do hope you like my first dabble into art journalling, Theresa xx

I would like to enter this in the following challenges:

Simon says stamp Monday challenge - make new friends but keep the old art journalling is new for me whereas the colours are my favourites and i use repeatedly and also the stamps.
 Designs by Ryn - customer creation challenge
ABC challenge - a is for anything goes


Saturday 3 January 2015

glitz and glamour....

I know Christmas has just gone and most of you don't want to see another Christmas card/project for  months now, but i felt that this fit the bill of the current challenge over at IndigoBlu.


I made several Christmas ornaments this year which i gave away as presents. This was the only one I had left. The wooden sleigh is from Anne Marie Designs.


I gessoed the sleigh pieces first before mounting it all up. Then I used red  antique gold acrylic to paint it all up.


I then used my favourite stamp from the IndigoBlu range and that is the vintage flourish and stamped it all over with glue and used chocolate gilding flakes. I have loved doing this on most of the ornaments that I made.


I found a piece of thick cardboard and gessoed it and used white matt and metallic acrylic over it. I stuck the sleigh down to it and added puff paint, pearls and seed beads to it.
I left the dear unaltered but added some bells with twine and stuck them down. The Christmas tree is very glimmery in real life but it has not come out in pics. I made it from white twine. Then i added some glossy accents and rolled it in rock candy distress glitter. I also added a mirrored star to it and some seed beads.


I stood it on a flameless tealight which makes it glow very warmly when lit.


I finished the whole thing off by adding various pines to which I added puff paint, seed beads and glitter. I also found a red velvet pouch which I added to it as I thought it looked a bit like Santa's sack.

So what do you think? I do hope you like it, Theresa xx


I would like to enter it in the following challenges:

IndigoBlu blog challenge - glitz and glamour